We know you love your Blendtec and most likely have it sitting on the counter-top 24/7 – unless your kitchen was recently renovated and it now clashes…
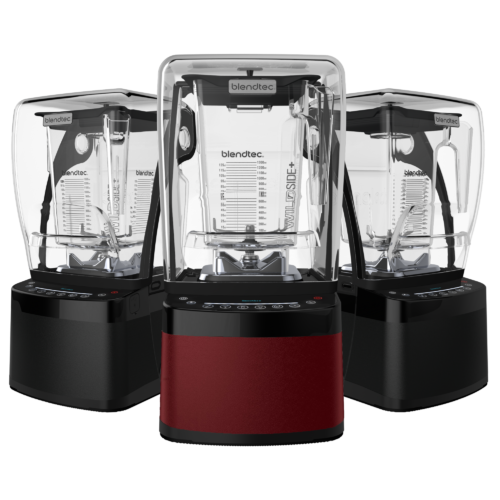
Blendtec want you to love the your blender without ifs & buts, so we offer you the ability to swap housings on our Designer series whenever you feel like it.
Instructions
Replacing the middle housing takes about 2 minutes.
1) Remove the 4 standard PH2 Philips screws at the bottom of the blender to remove the bottom housing (black or white with serial number sticker on it).
2) Lift the bottom housing out of the blender (a big shield will come out at the same time)
3) Remove the 2 standard PH2 Philips screws that hold the middle housings to the top housing.
4) Remove the middle housing by lifting it. Please note that the rubberised shielding material might stick the the housing when lifting it out. If so, please ensure you put this back onto the electronics board before re-assembly.
5) Place the new middle housing onto the blender. Ensure no cables are squished.
6) Hand tighten (gently!) the 2 securing screws.
7) Place the shield back into position.
8) Place the bottom housing into position.
9) Hand tighten (gently) the 4 screws.
10) Remove any excess glue-like gasket that might stick out by pulling at it.
11) Enjoy your Blendtec Designer Series blender in its new look.
Please ensure you do not over-tighten the screws. When using a power tool, please set this to lowest torque setting. The screws
The black or white top & bottom housing seen in the photos is not included. Swapping these parts is not possible at home without specialist tools, only the colourful middle housings can easily be replaced.
Please note that we cannot be held liable for damage caused from improper disassembly/assembly and is also not covered under warranty.
 Select Country








Reviews
There are no reviews yet.